About 4 months ago, my friend Lindsey told me about this birthday party she had just attended that was a construction theme. She thought it would be perfect for Jadon. My initial reaction was ambivalent. It sounded cute, but I didn't want to just copy someone else. But then I started thinking about it, and it was true. Jadon loves all things tractors/tools/destruction. And then I got on Pinterest...and oh. my. goodness. I was hooked!
So, here is what we came up with. (I take no credit for any original ideas. Check out my Pinterest board to get to my original sources.)
First, I had to decide on graphics and invites. I found several that I liked:


The first one was my first choice...until I found the second one, and liked the orange stripes and yellow truck and number at the top better. But Jadon doesn't really care about dump trucks, he likes tractors...So then I found the third one, which fit the bill, but I still liked the bold graphics of the second one better.
Bottom line, none of them were perfect. So what did I do?...
I decided to design my own! (duh. What any normal person would do, right? Okay, maybe not. I'm a little crazy like that.) So I dove into youtube videos and online tutorials for Photoshop, and ultimately came up with this:


I discovered these orange envelopes I bought on clearance (for some reason?) years ago, and added the cute little tractor graphic on some address labels, and whalaa! I think I still like Invite #2 (with the dump truck) better graphically, but I'm pretty happy with how these turned out. If anyone cares, the font I used was called Wicked Grit. It's one of my new favorites!
Then, since I had already created the basic graphics, I was able to use it for a bunch of other projects, including a special birthday t-shirt for Jadon (too bad white is such a lousy color for a little boy who loves to get dirty!).

Instead of using my beloved Cricut for the typical banner, I continued my Photoshop endeavors and created an easier one using the same graphics:


It was so cute to see all the kids having fun with their "tools"!
Pinterest was so helpful/annoying at providing tons of great ideas from party decorations other moms came up with. I ended up finding these "Detour" signs at Birthday Express, where I found the cone cups. We bought inexpensive stakes at Home Depot, and then Jim had the idea (miraculous rarity--decorating is not something he enjoys!) to string caution tape (we already had a roll, but you can find it at Home Depot) between the stakes and along the fence. Nice idea, babe! That made a perfect detour away from our front door to the gate to the back yard.


I made all the signs on Photoshop, although Publisher would work just as well. I considered printing them somewhere else so as not to be limited to 8" because of paper size (12" would have been so much cooler!)...but printing them at home was so much more cost effective.
And of course, the piece de resistance, was my dad's tractor, which set the scene perfectly...and was fun for kids to climb around on. Great timing on that big purchase, dad!
I did splurge on the big "Jadon's Birthday Construction Zone" sign. I "designed" it (simply!) in Photoshop on a 20"x 30" canvas, then saved it as a jpeg and had it printed up at Costco for $8.99 (and this month's coupon book conveniently had a $1 off coupon for photo poster prints, yay!). Then I glued it to a basic foam core poster board from Walmart. The whole project came to just over $10.

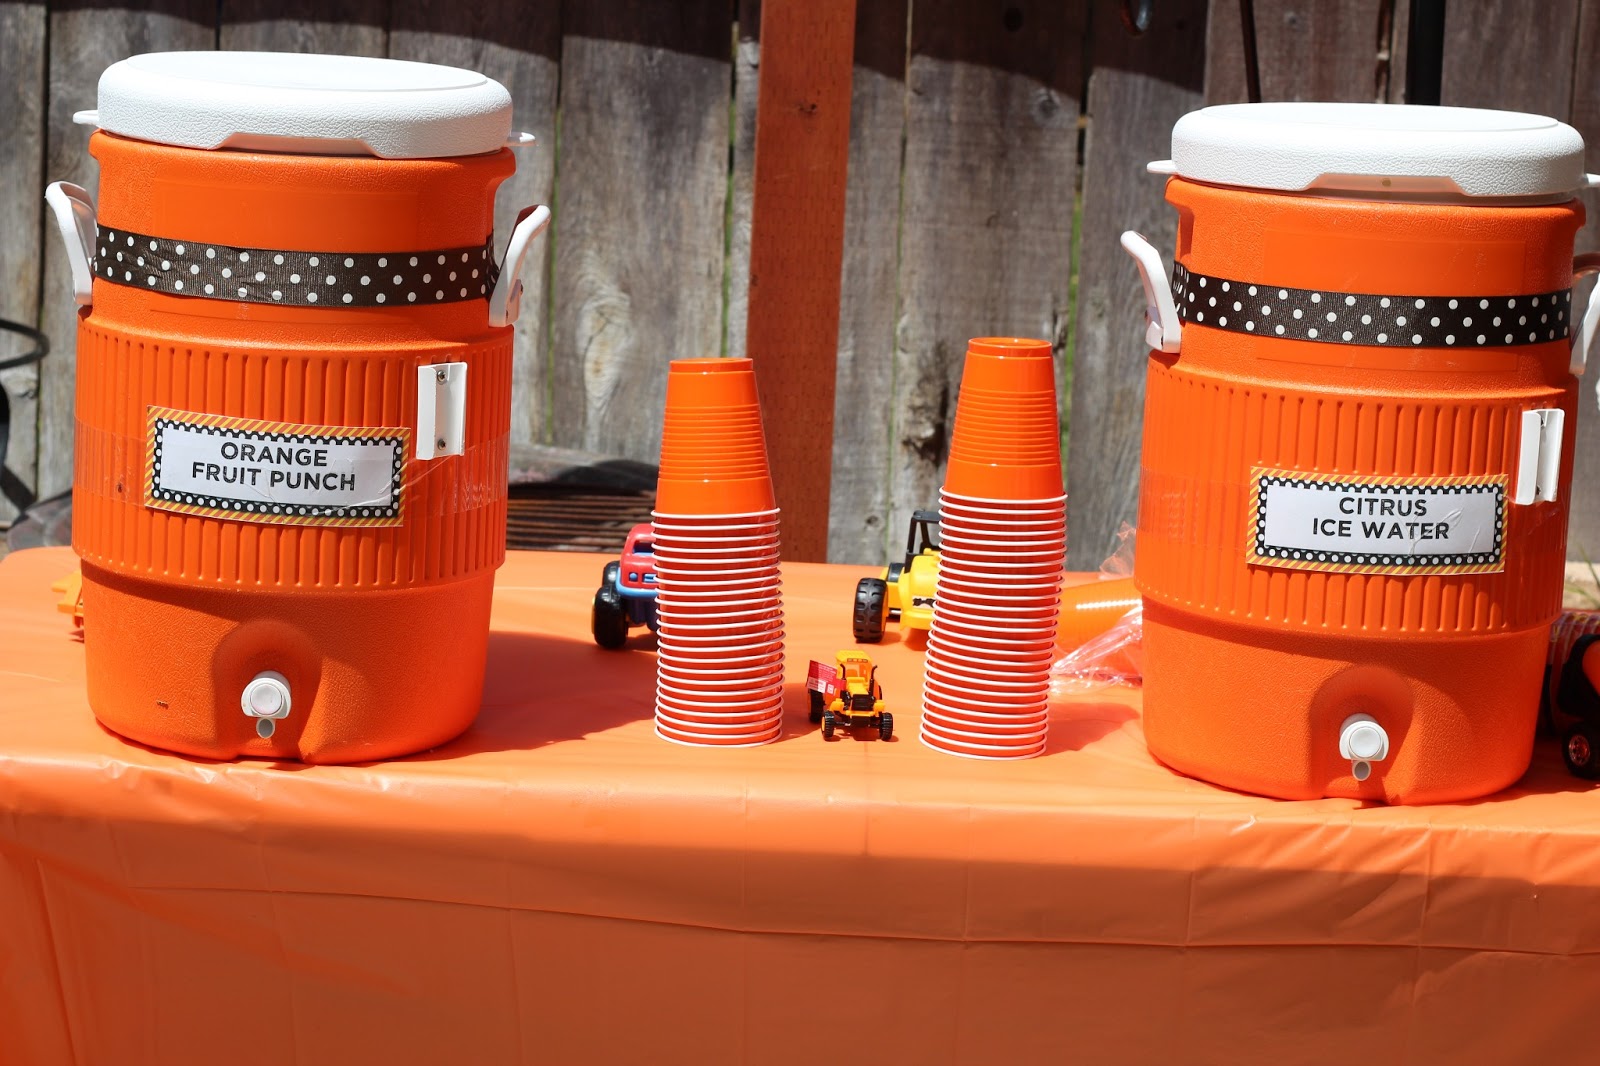
I had a lot of fun with food ideas, again, all copied from others' parties posted on Pinterest. Most of the foods were Jadon's favorites, along with a few things that were just too cute to ignore.



The sweets side was my favorite. (of course!) My favorite of the favorites was the chocolate-dipped rice krispy treat "paint brushes." So cute! (Oh, and I discovered a handy product made by Wilton specifically for tinting candy coating/chocolate that doesn't change its consistency. Definitely worth it!) We made "soil" out of pudding cups topped with Oreo crumbs and a gummy worm...and a little "dig in" topper on a toothpick. I bought peach licorice for orange "rope" (it was cute, but not as tasty as I'd hoped) and rootbeer stick "beams" (which, if I had it to do over again, I would have called "rebar"). When I ordered the rootbeer sticks, the company accidentally sent me rootbeer rock candy on a stick, so I put those out, too, but couldn't think of anything clever to call them. Another one of my favorite ideas that I gleaned off of Pinterest was chocolate donut "spare tires." Ha. So cute! And then I found these gummy tools at Oriental Trading Company, too. I was going to put them in the pinata, but then I ran out of room, so I put them on the food table...but I think they would have gone better in the pinata.

My favorite part of the party was the activities. For some reason, I didn't find as many (easy) entertaining "construction" activities for toddlers to do as I expected, so I had to adapt a little, but I think everyone ended up having fun.
Knowing my child, and his "proclivity" toward lack of structure, I tried to think of activities that could be as spontaneous and free as possible. I grouped them in stations that kids could wander between as they wished. Here was our "construction zone" that included building blocks my dad had made (a couple of years ago) out of scrap 2x4s that he cut down and sanded smooth (great free toy for active boys, although the sanding does require time and patience!). The other activity was a "nailing station" using an old styrofoam icechest (I had seen one where each kid was given an individual block of styrofoam, but that was way too pricey for me...especially when Jadon found the old ice chest in our garage!), a cheap bag of golf tees, and a couple of 99c store rubber mallets (which Jadon LOVES to use around the house as hammers, anyway...I figure the rubber is a little safer than a metal hammer...)


Good thing Jadon was the birthday boy, because he had far too much fun running up out of nowhere and knocking over other peoples' towers (as seen in the last picture!). We are working on that, but he's on a slow learning curve!


I also turned a little inflatable pool and 2 orange table covers into a color-coordinated sandbox, that was a non-stop hit all day.


Jadon's trampoline was also a fun hit. We filled it with orange, yellow, and brown balloons to start, but those quickly popped and/or floated out. But the kids still enjoyed it. My favorite part was toward the end when only a few kids remained, and Jadon convinced them all to play "shark" with him, using their flashlights as guns.

The activity I was most uncertain about was painting. It just seemed like it had the potential to become a huge chaotic mess. On Pinterest, I had found several parties where they painted giant houses made out of cardboard boxes, but that required too much work for me after I discovered these cute little birdhouses in the dollar bin at Joann's Fabrics. I bought a pack of Crayola washable paints, some brushes, and a roll of 13-gal. garbage bags to use as smocks...and then put out the trays of paint with trepidation and apologies to the parents...and I couldn't believe how smoothly--and successfully!--it went. Even the older kids and some of the parents got into it. And Jadon! (Instead of painting a house of his own, I think he just added personal touches to everyone else's!)


The only activity we had to "orchestrate" then was the pinata. I had seen this great tutorial for a construction cone pinata...and then personalized it to make my own...and was thrilled with the results. Knowing how rough my child can be, I made it extra durable (with extra layers), but the rope still broke out of the top hole, so if I had it to do over, I would probably lower the rope hole and beef that section up even more. Even so, all the little kids got a chance to swing at it, and even some of the bigger kids...and everyone had fun charging for the loot. (Here's my tutorial for how I made it.)


All that was left after the pinata was the cake...a birthday staple that I have relied on Albertson's bakery for the last 2 years but decided to do it myself this year. I bought this super cool pan at Bed Bath & Beyond that allows you to make any letter or number, so I had to make a "3," and then, thanks again to ideas from Pinterest, I decided to turn it into a road. My dad helped to frost it (he used to decorate all of ours growing up...all 6'5" scruff of him!), and I think he did a great job.


Because I wasn't sure how many people the cake would feed, I also made cupcakes. Oh! Great cake trick I discovered/attempted for the first time. I'd always heard that you could substitute apple sauce for the oil, but I was always skeptical. Great news: it works! The cakes turned out even more moist than usual, and I think they just tasted better. I also attempted my own buttercream frosting, but it got way too melty way too quickly, so I will definitely be experimenting with some more options there...


All in all, I think everyone enjoyed the party, especially Jadon. And I had a ton of fun putting it together.


Special thanks to Sam Jeet, who photographed the event! Even though I still had to play with my new camera, it was nice to be able to relax knowing that someone else was there to capture key moments. If you live in the San Diego area, I would highly recommend her services.

Oh, and besides having a ton of fun, we raised almost $100 for Jadon's World Vision sponsored kid, Misael. People tended to ignore the suggestion to not bring Jadon any gifts, but they were more-than-generous with both boys. It will take a few months for World Vision to tell us how specifically the money will be used, but it will definitely be a blessing to Misael, his family, and his community!


